Family computer room desk updated
 Some five years ago now, we built Sabriena and Duncan a shared desk specifically to fit the luxuriously long wall in the house we were renting at the time. It was some 4M long if memory serves and it worked super well, but when we moved into this house we didn’t have an appropriate place to set it up. The room Sabriena wanted their stuff in is something of a small sunroom, which only has two spare walls in a corner, neither of which is anywhere near 4M long, and both of which had windows.
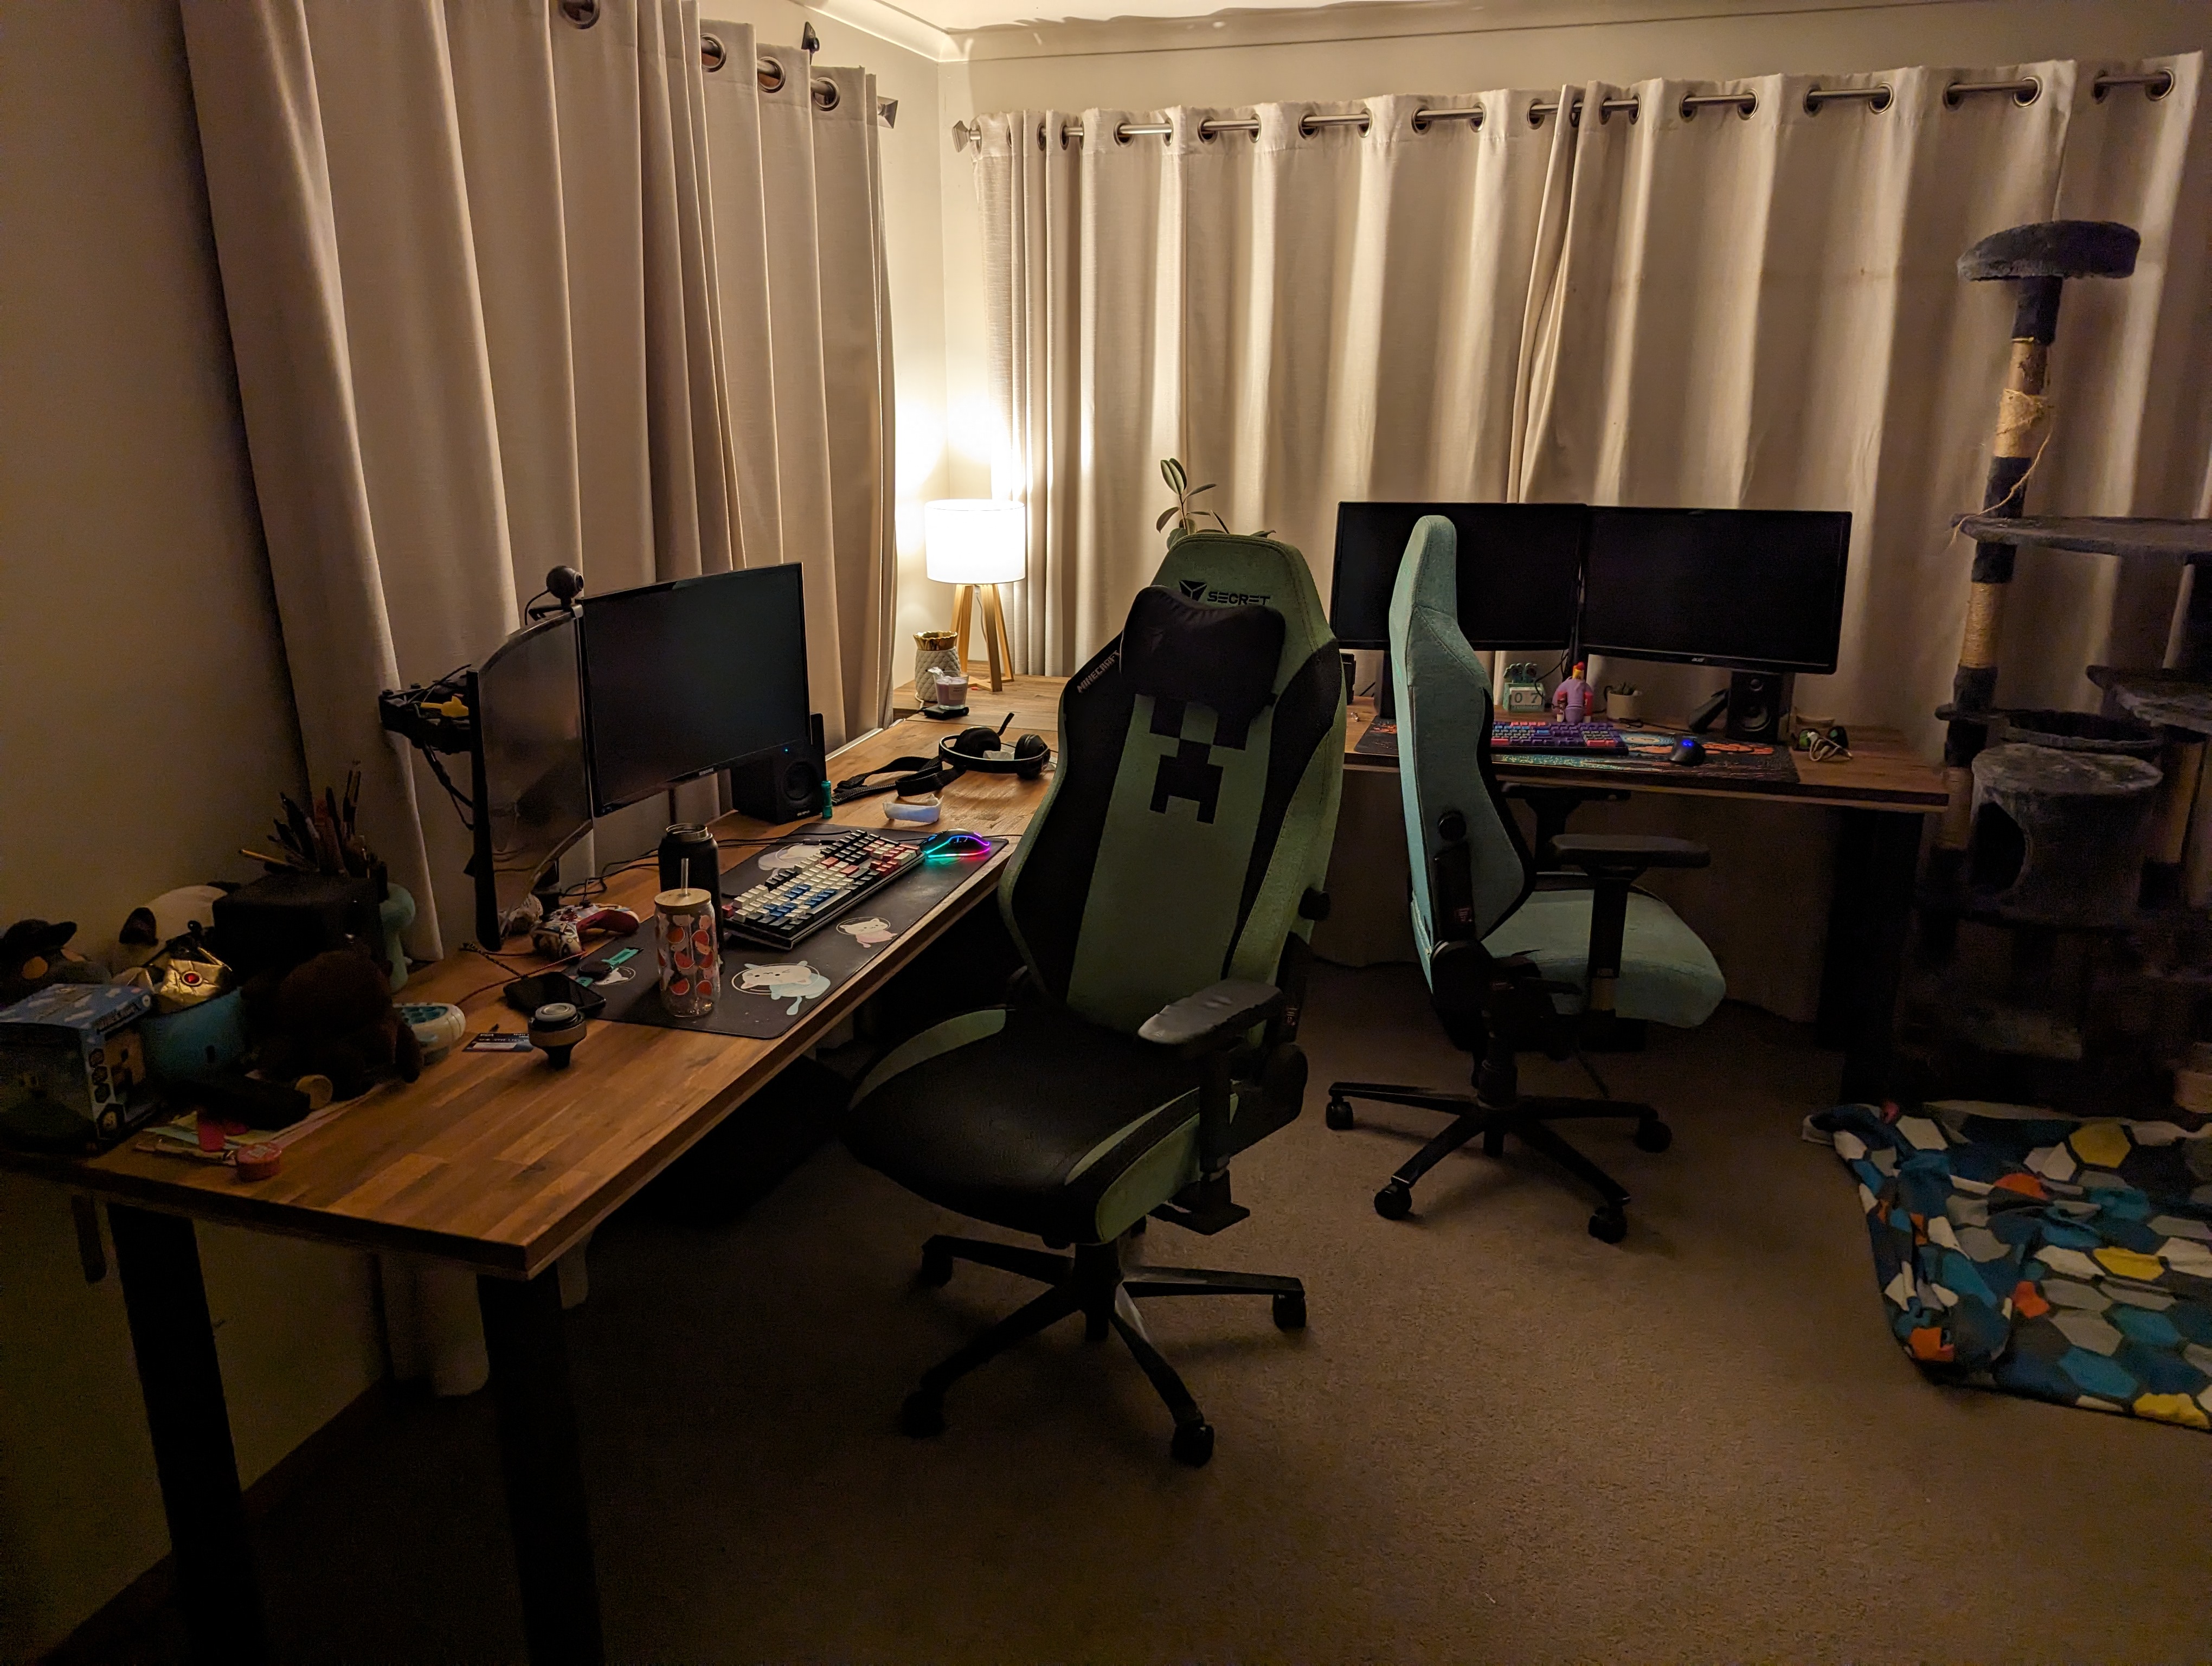
We did the best with what we could to get them set up, and I got another section of the cheap recycled countertop (which we wouldn’t find out until too late is not matching), and arranged the whole thing in an L shape.
This worked, but had one major issue: due to the windows and drapes, no part of the desk was touching the wall in any place, it was entirely free-standing. As I am by no means a furniture maker, the center cubby hole that formerly housed the printer but now holds both desktops was taking significant force every time someone moved, and I was worried that either it or the “Leggz” would eventually break and dump a bunch of expensive gear on the ground, and possibly even hurt someone.
So last weekend was it, we’re going to fix it! I came up with a plan, bought a 2400x1200 section of 10mm plywood, agonized over it for a bit before making some cuts and then… we decided it was too damn hot and late to do anything. Procrastinate until this weekend then.
This weekend rolled around, we did our usual saturday morning routine, then I set about taking everything apart. The plywood needed only one additional cut (which I knew, I deliberately left it until I could be sure it was going to fit) and then I could begin reassembly.
The plywood covers under the countertop portions (which are 2200x600) but extends out in several directions: Duncan’s is shaped in an L, so that for 500mm on the left side of it it comes into contact with the wall there, and then it extends some 200mm under Sabriena’s piece of desk.
Sabriena’s extends out to her left into the wall as well, with a section notched out for Duncan’s plywood to anchor to her countertop (this isn’t making sense, I should have taken photos). To finish it off, I cut up two small sections of the leftover countertop from the previous build, and filled in the holes where it makes contact with the walls, and then I used two heavy duty L-shaped brackets, found a stud where I could, and anchored the whole thing to the wall (after levelling it, because by then it was too late).
Using some 30mm screws from underneath to bind the plywood to the countertops and the entire thing is solid. It ain’t goin’ nowhere. Mission accomplished!
One thing I didn’t notice until after the fact: the plywood under the counter-tops is very visible. Annoyingly so. I think I can stain the edges of it to make it less conspicuous, but we actually have a better plan: since the countertops are mismatched, we’re thinking we’ll put up with this for now, and then when we have some money to spare on aesthetic things, we’ll look at getting a made-to-order countertop done, to completely fill the space, with all the grain going the one direction (as of right now because it’s L-shaped, the grain goes in different directions), and with no visible joins… and finally, a bull-nose on it, which will drop down and cover my plywood sins.
At the same time as we do that, we’ll also take it apart one final time and replace the gloss-black-covered MDF with something a bit nicer and it should look really good. For now, at least it’s functional.
Sabriena also did some cable management, so on the whole the entire corner is prettier than it was, but it could still stand to be nicer.
 fwaggle
Published:
Modified:
Filed under:
Location:
Horsham, VIC, AustraliaNavigation: Older Entry Newer Entry